Follow Me On Social Media!
Gluten Free Granola Bars: Irresistibly Chewy and Nutty Goodness

Introduction to Gluten-Free Granola Bars
Creating gluten-free granola bars at home isn’t just about satisfying dietary restrictions; it’s a delightful adventure into the world of wholesome snacking. Picture this: it’s a busy morning, and you’re dashing out the door, but you still want something nutritious to get you through. That’s where these homemade bars shine! They’re not only an on-the-go snack but also a chance to tap into your creativity in the kitchen.
The beauty of homemade granola bars lies in their versatility and the ability to control what goes into them. Unlike commercially prepared bars, which often contain hidden sugars and preservatives, making your own allows you to choose high-quality ingredients that promote health. Think about it—choose organic oats, nuts, and dried fruits that you love, and craft a snack that’s tailored just for you.
What Makes Homemade Granola Bars So Special?
Making your own gluten-free granola bars brings a variety of benefits:
- Quality Control: You have total control over the ingredients. Whether you prefer almond butter over peanut butter, or maple syrup instead of honey, the choice is yours.
- Healthier Options: Homemade versions allow you to lower sugar content and skip unhealthy additives. Plus, you can incorporate superfoods like chia seeds or hemp hearts for an extra nutrient boost.
- Cost-Effective: Save money by making your own bars compared to buying often pricey, pre-packaged gluten-free snacks.
- Flavor Variety: You can experiment with flavors and textures, so you never get bored. How about adding dark chocolate chips one day and dried cranberries the next? The options are endless!
Every bite of these gluten-free granola bars reflects your personal touch. They can fit perfectly into any lifestyle—be it as a post-workout snack, an afternoon pick-me-up, or even a light breakfast on the run. So roll up your sleeves and get ready to create something not just delightful, but also truly special—your very own granola bars!
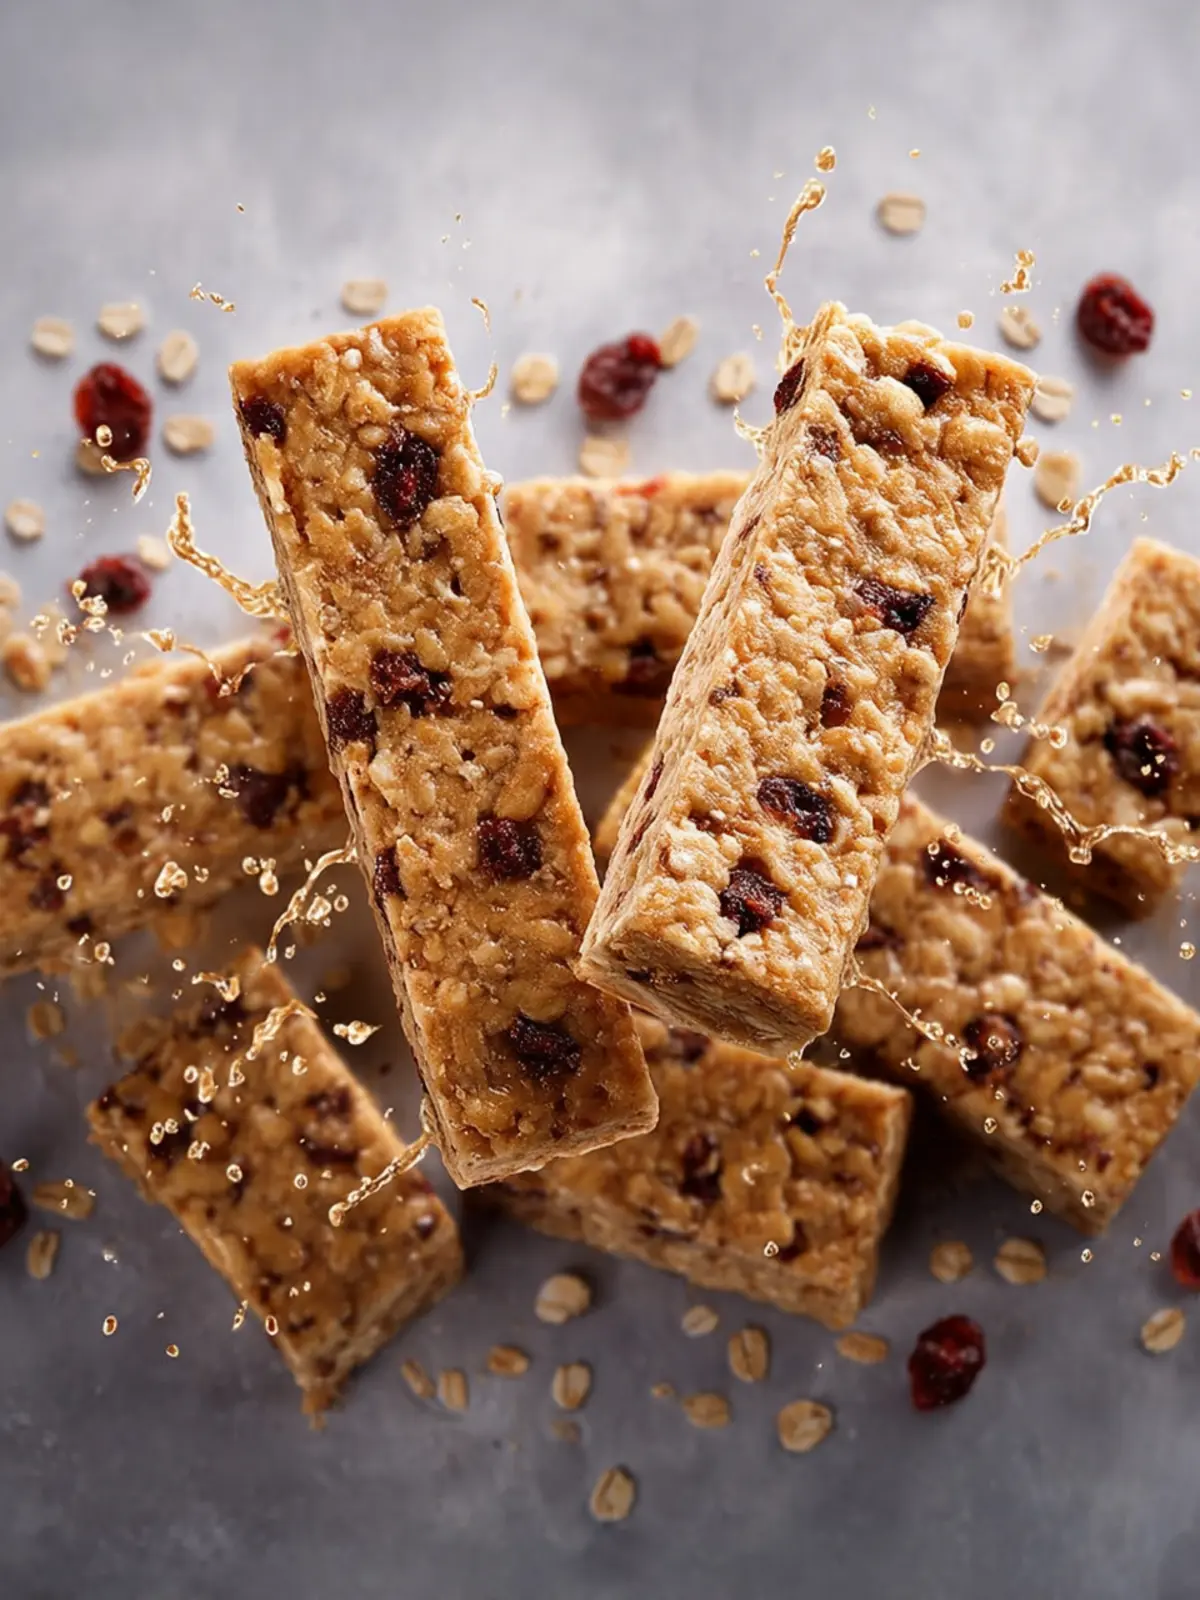
Key Ingredients for Gluten-Free Granola Bars
Nailing the perfect batch of gluten-free granola bars starts with carefully selecting the right ingredients. The balance of flavors and textures in this snack is truly important. Here’s what you’ll need:
-
Oats: Always choose certified gluten-free oats. They provide a wholesome base and a chewy texture, making them the heart of your granola bars.
-
Nut Butter: Whether you prefer creamy almond or classic peanut butter, this ingredient binds all the components together while adding a delicious richness. It also provides healthy fats, keeping you satisfied longer.
-
Sweetener: Honey or maple syrup works wonders for flavor and stickiness. They add just the right amount of sweetness without overpowering the natural ingredients.
-
Nuts and Seeds: Chopped almonds, walnuts, or seeds like pumpkin and sunflower seeds give a satisfying crunch and boost the nutritional value. Feel free to mix and match based on your preferences.
-
Dried Fruits: Raisins, cranberries, or apricots add chewiness and a touch of natural sweetness, making your gluten-free granola bars even more delicious.
-
Spices: A sprinkle of cinnamon or a dash of vanilla extract can elevate the flavor profile, giving your granola bars that homemade warmth.
Each ingredient plays a unique role in crafting a bar that’s not just gluten-free, but also perfectly delectable!
Why You’ll Love This Recipe
Gluten free granola bars are not just a snack; they’re a wholesome treat that fits seamlessly into our busy lives. Whether you’re dashing out the door for a morning meeting or need a quick pick-me-up in the afternoon, these bars are your go-to companion. What I adore about this recipe is how adaptable it is; you can easily swap ingredients based on what you have on hand or your dietary preferences.
-
Nutritious Ingredients: Made with oats, nuts, and natural sweeteners, these bars provide sustained energy. The combination of complex carbohydrates and protein keeps you feeling full longer.
-
Simple to Make: With only a handful of ingredients and minimal prep time, you can whip up a batch in no time. There’s something incredibly satisfying about making your own snacks!
-
Customizable Flavors: Add your favorite mix-ins, be it dried fruits, chocolate chips, or seeds. Each batch can be a new delicious adventure that keeps you excited!
In a world where convenience often sacrifices health, gluten free granola bars strike the perfect balance. You’ll not only enjoy a tasty treat but also nourish your body with every bite. Trust me—once you try this recipe, you won’t want to buy store-bought versions ever again!
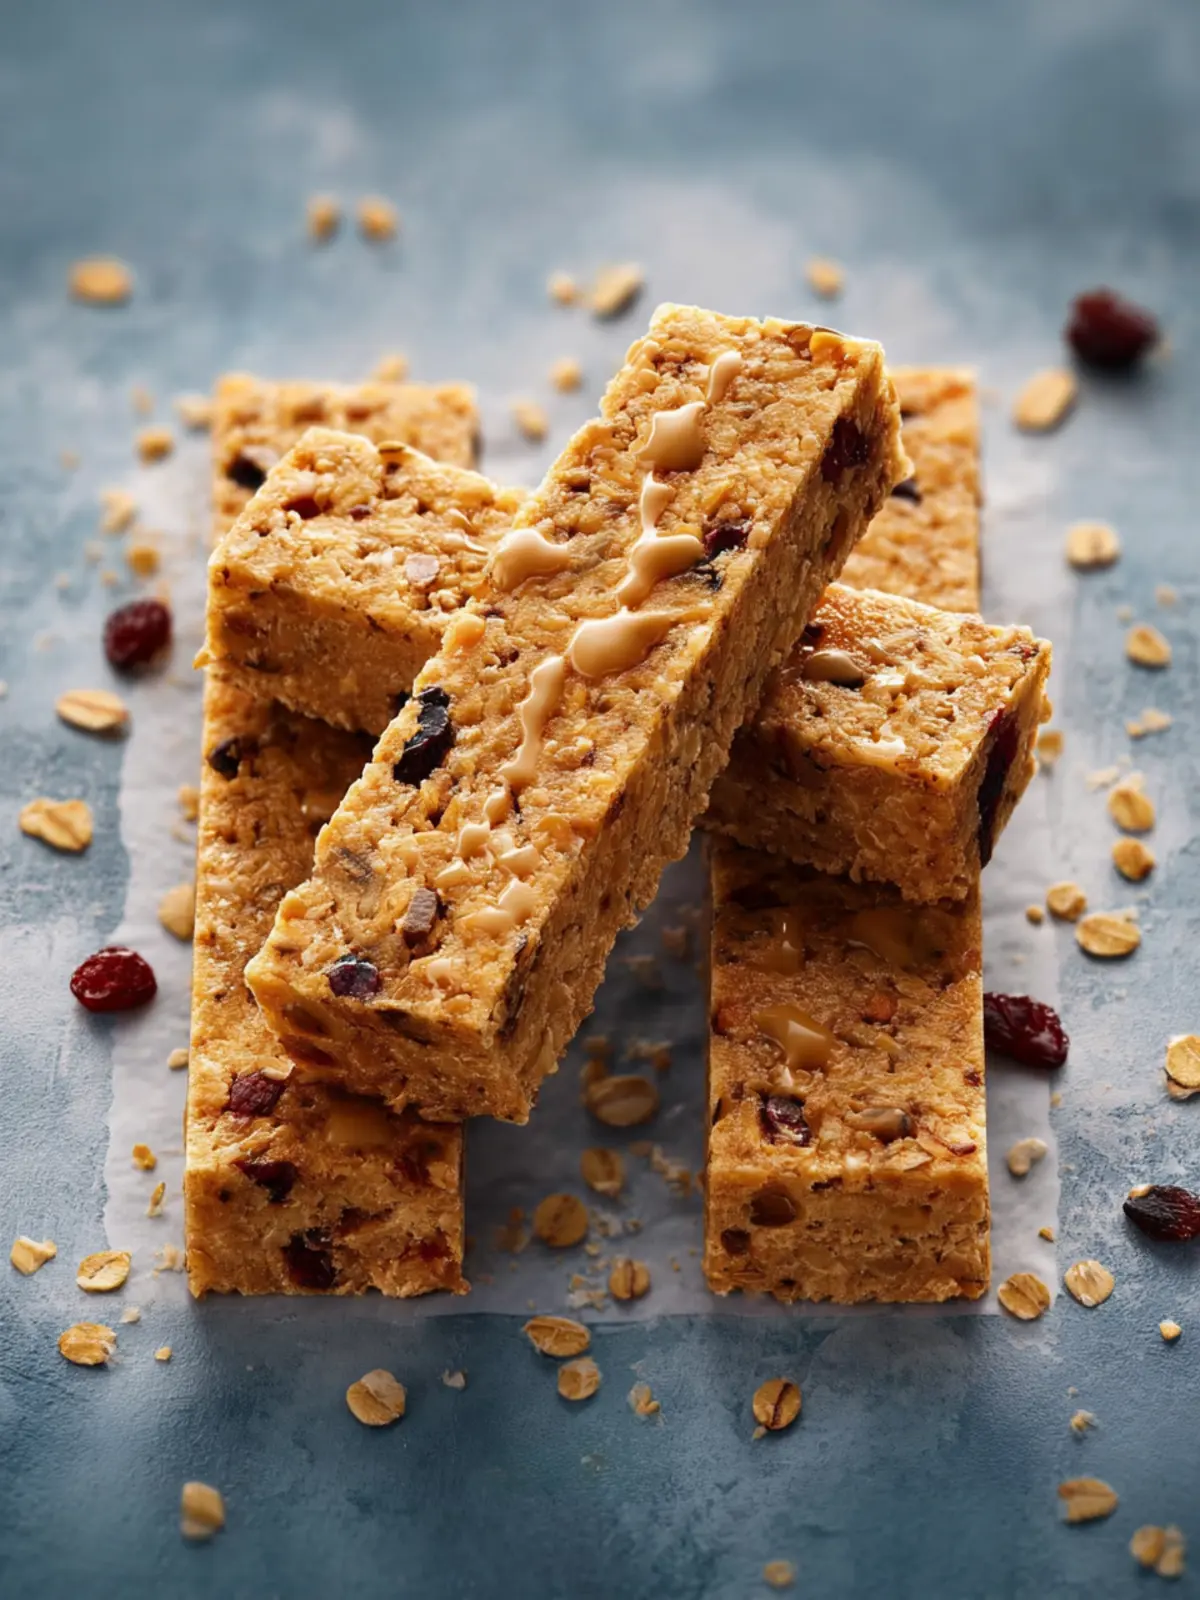
Variations on Gluten-Free Granola Bars
Creating gluten-free granola bars offers endless opportunities to explore delicious flavors and textures. Whether you have dietary restrictions or simply love wholesome snacks, these variations will keep your taste buds excited!
Nut-Free Alternatives
For those avoiding nuts, sunflowers seeds are a fantastic substitute, providing a satisfying crunch. You can also use roasted pumpkin seeds, which add a slightly sweet and nutty flavor. Another excellent option is incorporating dried fruit like raisins or cranberries, ensuring your gluten-free granola bars maintain their chewy goodness without the added nuts.
Flavor Combinations
The beauty of homemade granola bars lies in the flavors you can blend together. Consider these tasty combinations:
- Tropical Twist: Mix shredded coconut with dried mango and a hint of lime zest for a refreshing burst.
- Chocolate Delight: Incorporate cocoa powder or chocolate chips alongside almond flavoring for a rich treat.
- Cinnamon Raisin: Adding cinnamon and raisins creates a nostalgic taste reminiscent of freshly baked cinnamon rolls.
Feel free to experiment with herbs and spices, like a dash of ginger or nutmeg, to give your bars a unique kick.
Add-ins and Mix-ins
Boost the nutrition and flavor of your gluten-free granola bars by selecting some creative add-ins:
- Seeds: Flaxseeds and chia seeds pack a punch of omega-3s and fiber.
- Protein: A scoop of your favorite protein powder not only enhances nutrition but can also help bind the bars together.
- Oils: A touch of coconut or olive oil can add richness and moisture, preventing a dry snack.
With these variations in mind, your gluten-free granola bars will never be boring. Happy snacking!
Cooking Tips and Notes for Gluten-Free Granola Bars
Creating the perfect gluten-free granola bars can be a delightful experience, especially when you know the little tricks that can elevate your homemade treats. Here are some friendly tips to help you along the way.
Achieving the Perfect Texture
To achieve a wonderfully chewy texture, consider the balance between wet and dry ingredients. Nut butters are a fantastic glue that keeps your bars together while adding flavor. If you prefer a less sticky bar, try reducing the amount of nut butter slightly or adding more oats. Also, don’t forget to let your bars cool completely before cutting them; this step solidifies their structure and prevents crumbling.
Storage Recommendations
Storing your gluten-free granola bars is simple! Wrap them individually in parchment paper or plastic wrap to maintain freshness. Keep them in an airtight container at room temperature for up to a week. For longer storage, pop them in the fridge or freeze them for future snacking. Just be sure to let them come to room temperature before enjoying for the best texture.
How to Customize
Customization is where the fun begins! Feel free to swap out ingredients based on your personal taste—whether it’s using dried fruit, seeds, or even a sprinkle of dark chocolate chips. Just keep in mind that adding more wet ingredients may require adjusting the dry ones to maintain that chewy texture. Take this opportunity to experiment and discover your favorite mix!
With these tips in hand, your gluten-free granola bars are sure to impress friends and family alike. Enjoy experimenting!
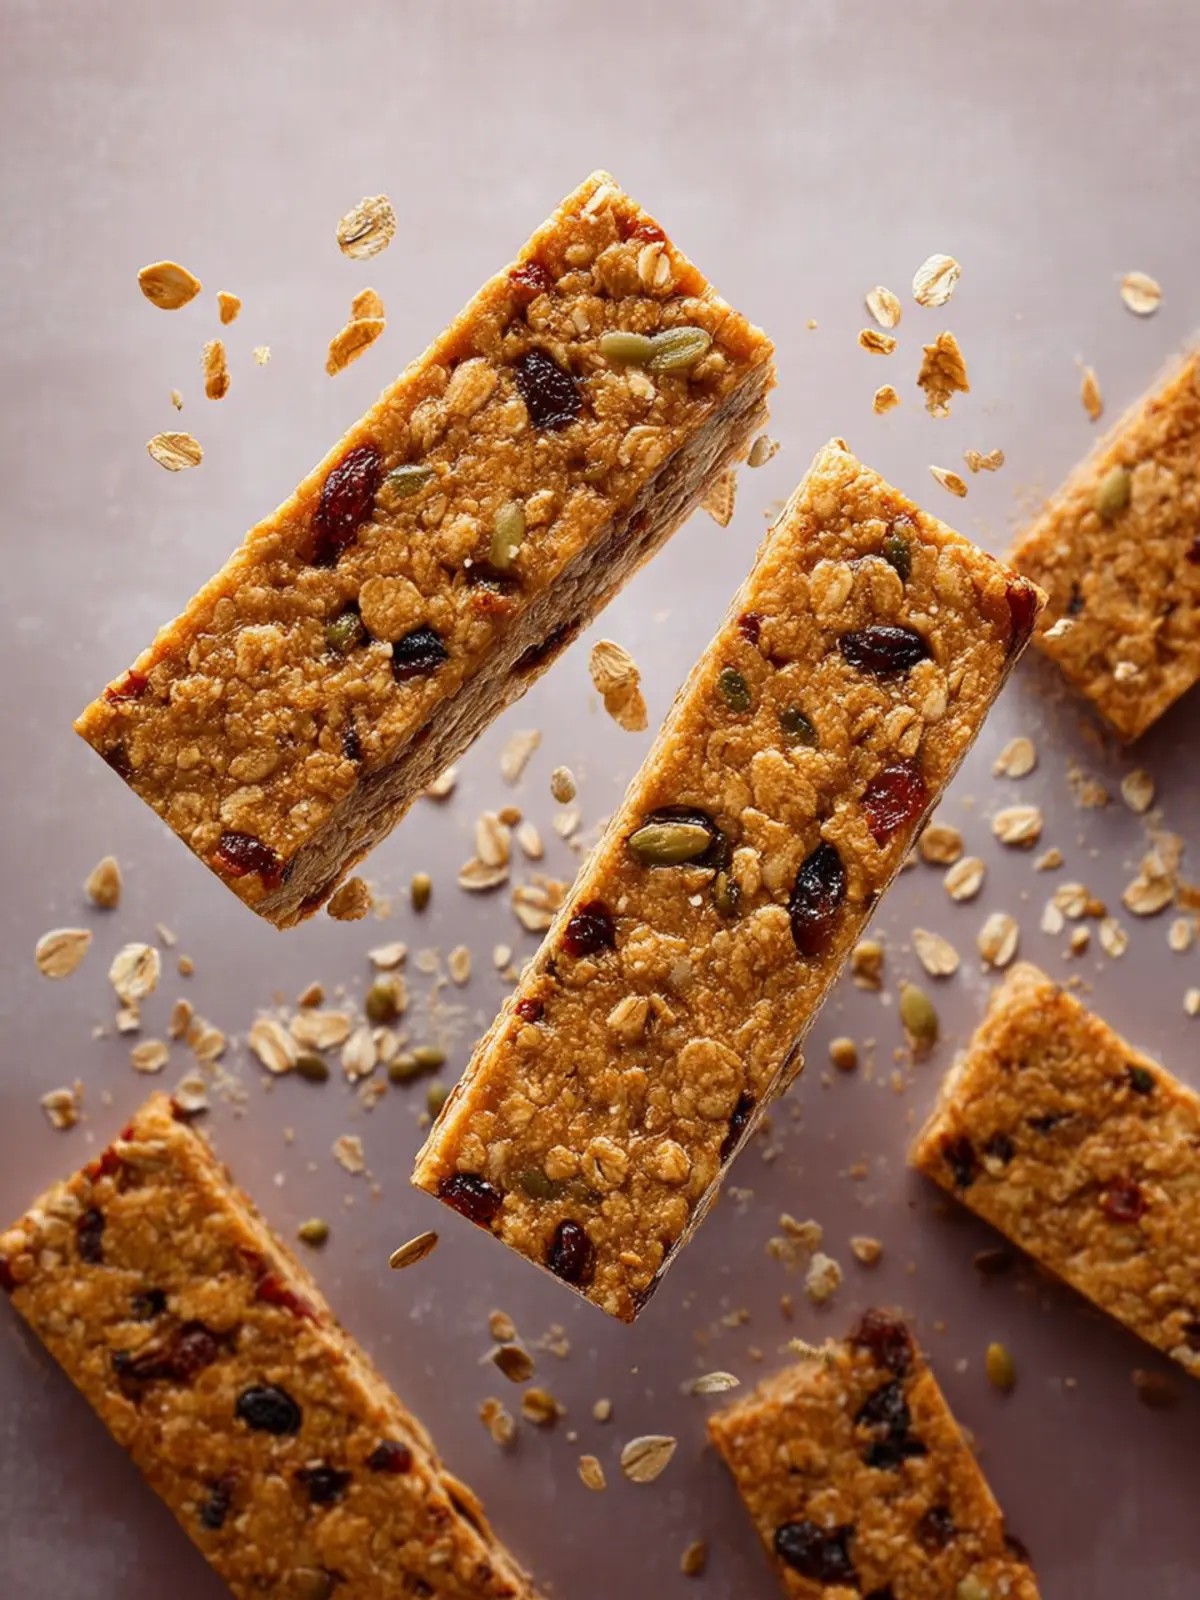
Serving Suggestions for Gluten-Free Granola Bars
Finding delightful ways to enjoy gluten-free granola bars is part of the charm that comes with any homemade treat. These bars are not just delicious; they can fit seamlessly into your busy lifestyle!
Breakfast On-The-Go
Kickstart your day by grabbing a gluten-free granola bar as you rush out the door. It’s a perfect, healthy alternative to a heavy breakfast. Pair it with a quick smoothie or a cup of yogurt for a balanced morning boost that’s both nutritious and satisfying.
Snacks and Treats
Stuck in a mid-afternoon slump? Reach for a gluten-free granola bar to keep your energy levels up. They’re great on their own, but for an extra indulgence, try dunking them in melted dark chocolate or slathering with almond butter.
Pairing Ideas
Enhance your snacking experience with these pairing suggestions:
- Fresh fruit like apple slices or berries for a refreshing bite
- A scoop of nut or seed butter for added protein
- A cup of herbal tea or your favorite coffee for a comforting treat
With these serving suggestions, your gluten-free granola bars can transform any moment into a deliciously satisfying experience!
Time Breakdown for Gluten-Free Granola Bars
Creating gluten-free granola bars can be a delightful experience, especially when you plan your time effectively. Here’s how it breaks down:
Preparation Time
Give yourself about 15 minutes to gather your ingredients, mix them together, and spread the mix into your pan. This is when the magic of creating your gluten-free granola bars truly begins!
Chilling Time
After preparation, patience is key! Allow your bars to chill in the refrigerator for at least 30 minutes. This helps them solidify perfectly, making them easier to cut and handle.
Total Time
In total, you’ll dedicate around 45 minutes to making these delicious bars. With just a little bit of time, you can enjoy a healthy snack that’s both satisfying and convenient!
Nutritional Facts for Gluten-Free Granola Bars
Creating delicious and healthy gluten-free granola bars is not just about satisfying your taste buds; it’s also about fueling your body with the right nutrients. Here’s a quick snapshot of the nutrition you can expect from your homemade bars:
Calories
Each bar typically contains around 150-200 calories, making it a perfect snack or breakfast option that keeps you energized throughout your day. This calorie count can vary based on specific ingredients used, but rest assured, you’re getting a wholesome treat.
Protein
With about 4-6 grams of protein per serving, these gluten-free granola bars help support muscle repair and keep you fuller for longer. A great addition of nuts or seeds can boost protein content even further, making your snack not only delicious but also nutritious.
Fat
In terms of fat, expect around 5-8 grams per bar, primarily from healthful sources like nuts and seeds. These fats are essential for brain health and provide lasting energy, so you can feel great about your choice to indulge in these tasty bars.
FAQs About Gluten-Free Granola Bars
Making gluten-free granola bars can be a delightful adventure in the kitchen, and it’s natural to have some questions along the way. Here are a few common inquiries to help you navigate your granola bar-making journey.
Can I use other nut butters?
Absolutely! While almond butter is a favorite in many recipes, you can switch it up based on what you have on hand or your personal preferences. Peanut butter, cashew butter, or sunflower seed butter are all great alternatives. Each nut butter brings a unique flavor profile, so feel free to experiment until you find your perfect blend!
How do I make these bars vegan?
Making your gluten-free granola bars vegan is straightforward. Simply replace honey with maple syrup or agave nectar. Both alternatives add natural sweetness without compromising the structure. Be sure to check that your chocolate chips are dairy-free if you’re including them!
What’s the best way to store them?
To keep your gluten-free granola bars fresh, storage is key! Wrap them individually in parchment paper and place them in an airtight container. They can last up to a week at room temperature or, for longer shelf life, store them in the fridge. For even more extended use, consider freezing them—just make sure to separate them with parchment so they don’t stick together.
With these tips, you’re well on your way to crafting delicious, customized gluten-free granola bars that satisfy your taste and dietary needs! Enjoy the process and get creative!
Conclusion on Gluten-Free Granola Bars
Crafting the perfect gluten-free granola bars at home can be a game-changer for your snacking routine. These bars not only satisfy cravings but also fuel your day with wholesome ingredients. Whether you enjoy them as a mid-morning pick-me-up or a post-workout snack, knowing what goes into your food makes all the difference. Making your own bars is not just fun but also allows customization to your taste—mix in your favorite nuts, seeds, or dried fruits! So grab your ingredients, get cooking, and indulge in the satisfaction of a healthy treat that you created yourself. Happy snacking!
Print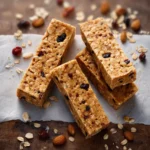
No-Bake Peanut Butter Oat Bars
- Total Time: 1 hour 15 minutes
- Yield: 16 bars 1x
- Diet: Gluten-Free
Description
Delicious and easy no-bake peanut butter oat bars that are perfect for a quick snack or dessert.
Ingredients
Scale
- 1 cup creamy peanut butter, nut or seed butter
- ⅔ cup honey
- 2 tsp pure vanilla extract
- ½ tsp ground cinnamon
- ¼ tsp salt
- 3½ cups gluten-free quick oats
- ¼ cup gluten-free mini chocolate chips (dairy-free use Enjoy Life mini chocolate chips)
Instructions
- Line an 8-inch by an 8-inch baking pan with parchment paper.
- In a large bowl, stir together the peanut butter, honey, pure vanilla extract, cinnamon, and salt until smooth.
- Add the gluten-free quick oats and mini chocolate chips. Stir until fully combined. The mixture will seem dry at first, but it’ll come together.
- Press the mixture firmly into the pan with your hands or a spatula. Use the back of a ¼ measuring cup to help flatten the mixture.
- Cover with plastic wrap and chill for at least 1 hour, then slice into bars.
Notes
- For a dairy-free version, use Enjoy Life mini chocolate chips.
- Store in an airtight container in the fridge for up to a week.
- Prep Time: 15 minutes
- Category: Snacks
- Method: No-Bake
- Cuisine: American
Nutrition
- Serving Size: 1 bar
- Calories: 200
- Sugar: 10g
- Sodium: 100mg
- Fat: 10g
- Saturated Fat: 2g
- Unsaturated Fat: 8g
- Trans Fat: 0g
- Carbohydrates: 22g
- Fiber: 3g
- Protein: 5g
- Cholesterol: 0mg